
Enhancing Audi RS3 Braking: A Comprehensive Guide to Better Stopping Power

First and foremost - here is a quick physics lesson on how brakes work:
Friction
Okay - now that we have that out of the way, we can discuss heat and heat dissipation.
Brake discs, calipers, and the parts immediately around them are there to absorb stored energy from the car moving when you want to slow down. This absorption creates an intense amount of heat that has to be exchanged with the air around it. The air is a pretty poor conductor of heat, believe it or not, so it takes a decent amount of continuous airflow to allow these brake parts to cool. As we can see from this picture:
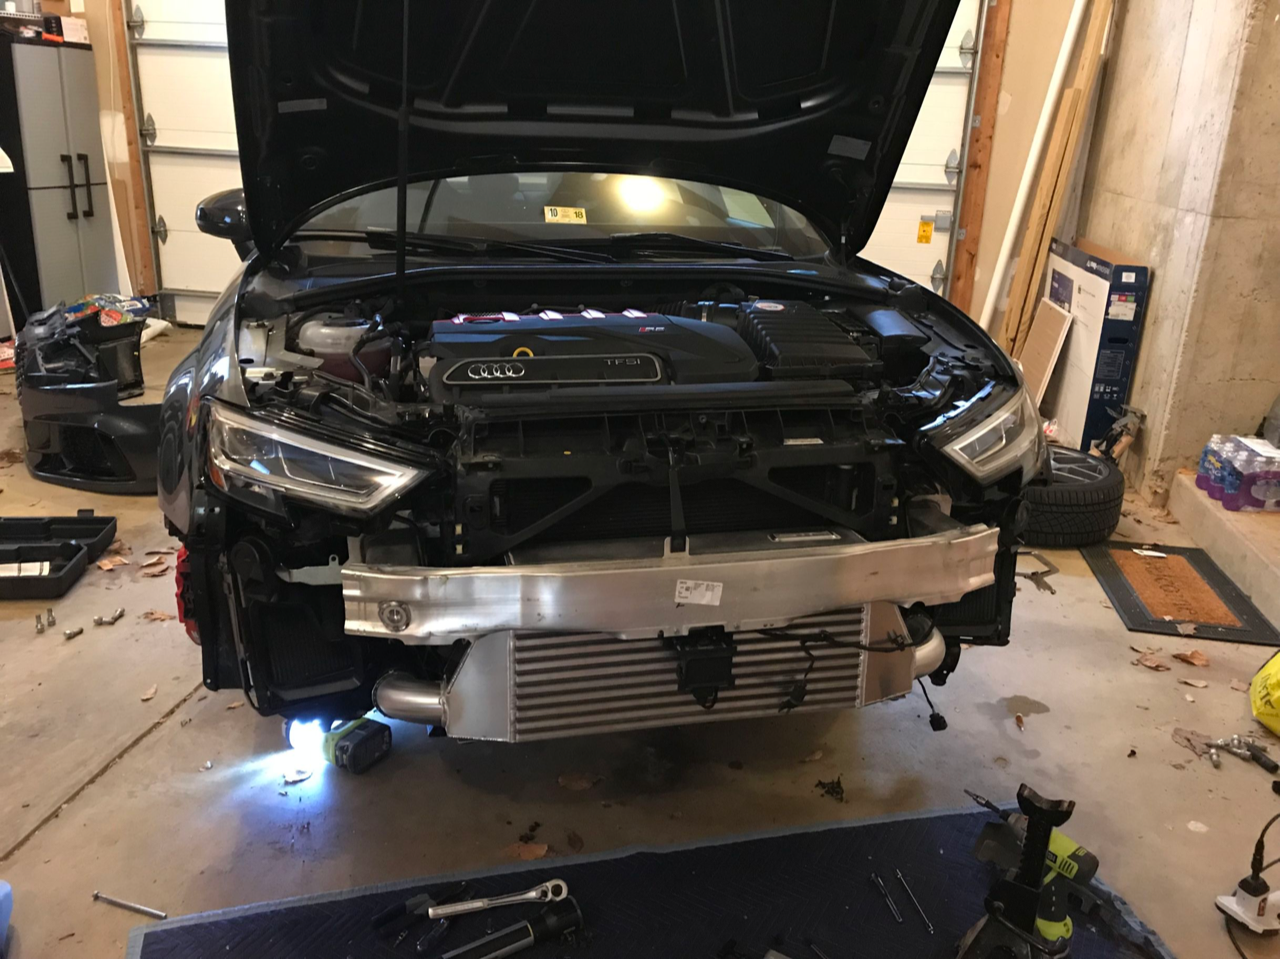
There is very little room for airflow to get by the intercooler, radiator, oil cooler, and transmission cooler. Audi really wanted to get everything to cool down when it came to the drive train, but the brakes need some air, too! My initial track day in 2018 at Dominion Raceway resulted in brake fade, overheating fluid, and a super soft (and very uncomfortable) pedal. I did end up going off at turn one, but fortunately only had soft pedal and made it back to the pits where my fluid boiled. While sitting still. This happened due to heat-soak and lack of airflow across the brakes. I used an IR gun to measure my temps, which were well over 850 degrees.

Let's also not forget that the weight of a 2018 Audi RS3 with driver is pushing upwards of 3900 lbs!
Audi tried to solve this by offering a plastic brake 'scoop' (not a duct) that zip ties to the lower control surface of the suspension. This did help get me down closer to 800 degrees but didn't solve the problem. The answer was a few different steps:
1) New brake pads -
The factory Audi brake pads aren't meant for track and became thin quickly based on the heat they were trying to hold. More aggressive pads, while higher friction (and higher temperature) were, also allowing me to brake for shorter distances, therefore allowing the car to cool more between braking zones. Mike Jr. from Carbotech recommended their 1521 street pad for the street, and their CarboTech XP12/XP10 for the track. I've been playing with combinations between front and rear, and thanks to some other input, I've settled with a square XP10 setup that has allowed me to get very comfortable, and start working on consistency. The XP10s have won several race series, and are some of the most rotor-friendly trackpads out there. The rears will last several seasons; however, I'm budgeting for a full set of pads per season for the front.
2) New brake fluid -
I started with Castrol SRF, which is about ~60 USD per bottle. It worked well, however, I found it wasn't necessary to spend that much, especially at the risk of boiling it (which I did). I'm currently running with Motul RBF 600 and have had good success.
3) Stainless steel brake lines -
they may not have helped the heat issues, but it's one less thing to worry about! I did these at the same time as a full flush to Motul RBF 600, so the fluid was all coming out of the car anyways!
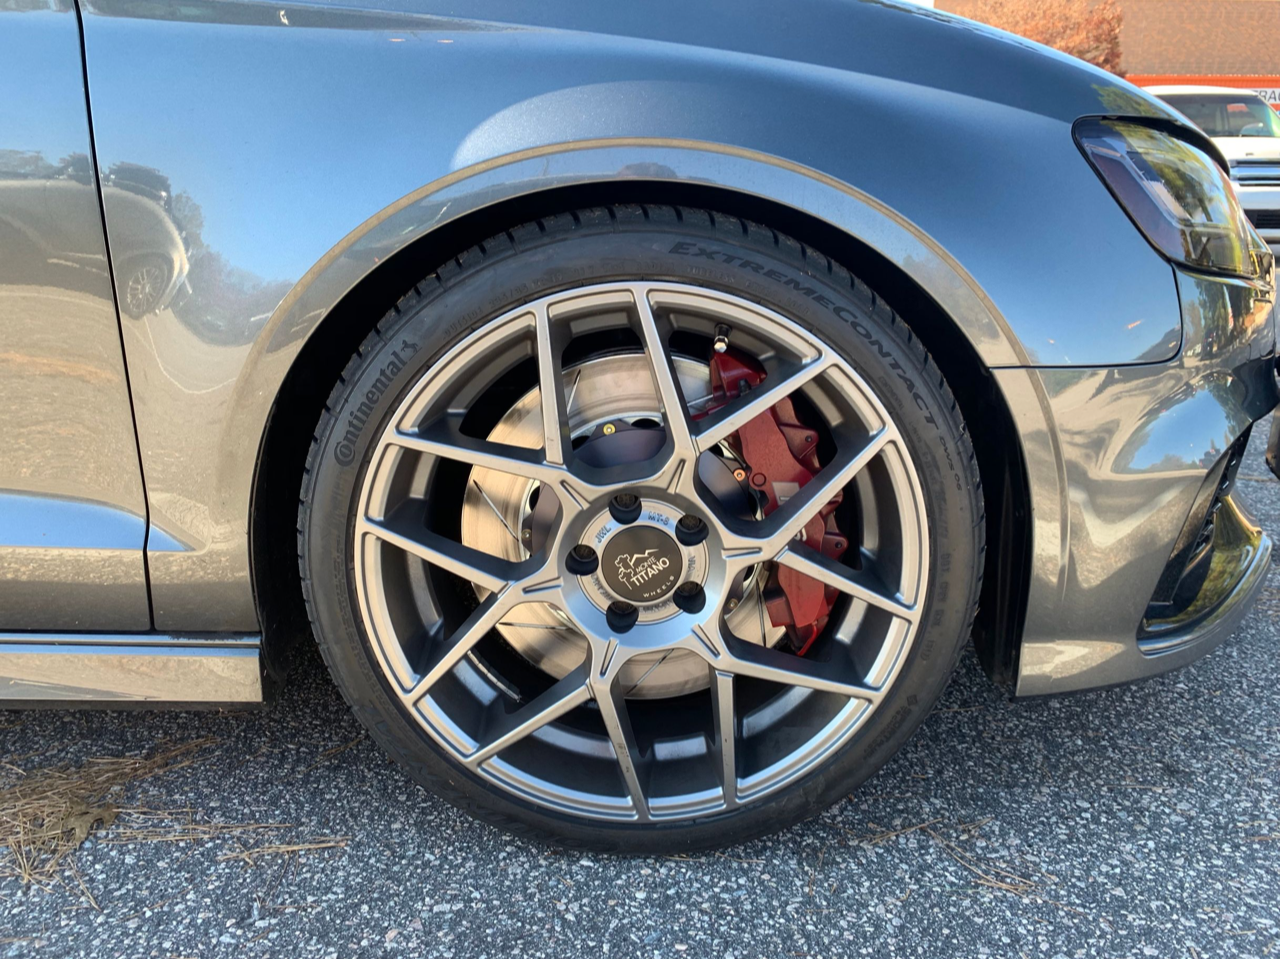
4) New rotors -
GiroDisc. This moved from a cross-drilled/dimpled rotor from the factory to a similar size, although 11 lbs lighter, directional slotted two-piece rotor. This allows much better heat dissipation and reduced the un-sprung weight at the front... it actually sharpened my turn-in just a bit.
5) Fans in the pits -
I eventually discovered that if I could keep airflow over the brakes without using them after a session, it greatly diminished the pedal from going soft (ie, air bubbles forming in the brake fluid). I started by just doing several cool-down laps of the pits. Then I started cutting my session short. Then I did both. While these helped, I still found that while the car was parked, the rotors and calipers would quite literally bake themselves to the boiling point. I also did some math about how the brakes were cooling throughout a session. Here are the rough temps starting with "zero heat" (I just arrived at the track prior to session 1):

I resolved this by purchasing two Ryobi battery-powered fans from Home Depot. As soon as I come off the track, I head straight to the pits and put these on 'high' for about 10 minutes facing the wheels. This carries enough air across the rotors and calipers to help everything cool down to the point that I can actually touch the caliper with a bare hand.
6) Upgraded rear brakes -
Now that we've taken care of the front of the car, the rear end begins to get light under heavy braking. During 'trail braking' (the act of leaving the brakes slightly engaged as you're rotating into the corner entry to help the rear step out ever-so-slightly), traction control (regardless of the 'stage') will engage in trying and settling the car. Not so fun, and it completely kills all momentum through the turn. To resolve the issues at the rear, I installed Vagbremtechnic rear caliper brackets, as well as 356mm rear rotors, to better match the percentage braking that the front of the car is doing. While this wasn't an earth-shattering change to how the car drives, it did increase my confidence.
So - What's next? More aggressive pads? Actually, probably not. I've got the car consistently braking based on the power that I have, and I'm becoming more consistent. Increasing my consistency from track to track is my next challenge; however, for the time being, the braking action is working exactly as I want it to.